Customization
You can customize the appearance of Happify Wishlist in 4 different places. They are:
- App Embed (floating wishlist)
- Catalog Page
- Product Page
- Header
Let’s see how to customize each of these fields.
App Embed (floating wishlist)
Section titled “App Embed (floating wishlist)”Go to your theme customization
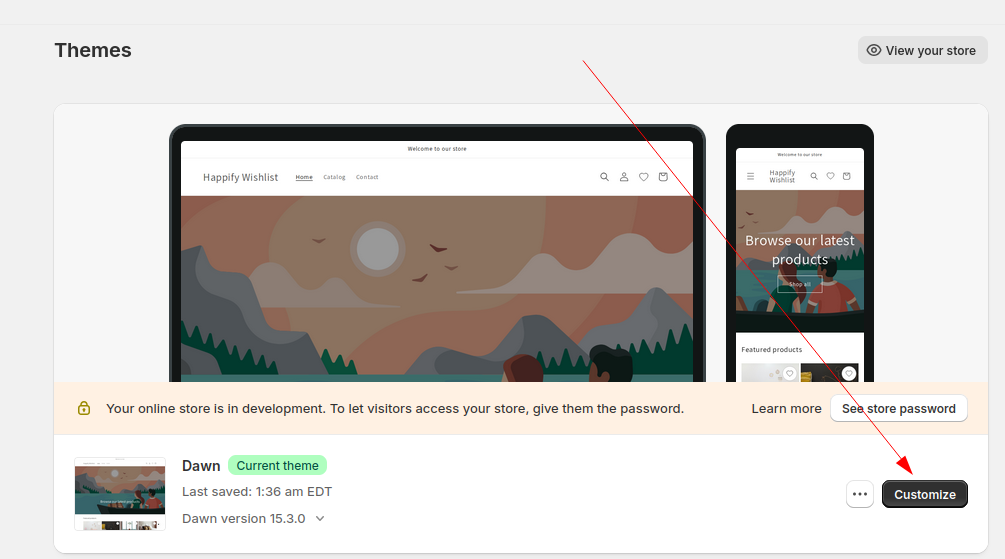
Now go to App embeds
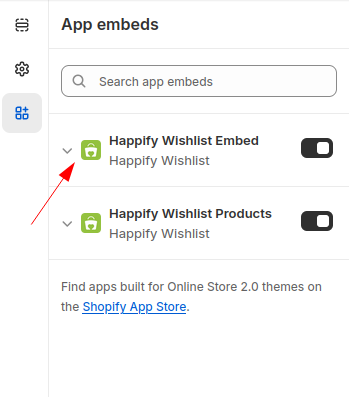
Clicking on that arrow icon will expand the customization page
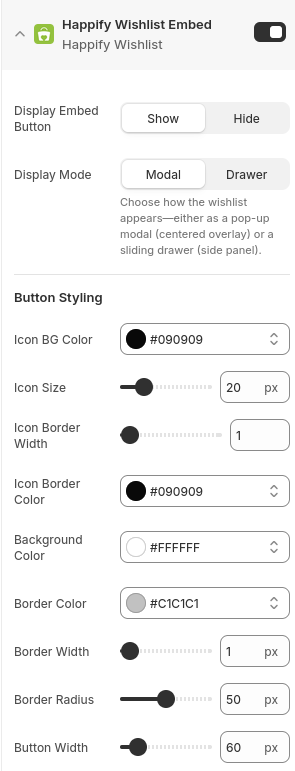
Here you can customize the behavior of the floating wishlist and you have control over following things:
- Switch the Display Mode to either Modal or Drawer
- Button Styling
- Count Bubble Styling
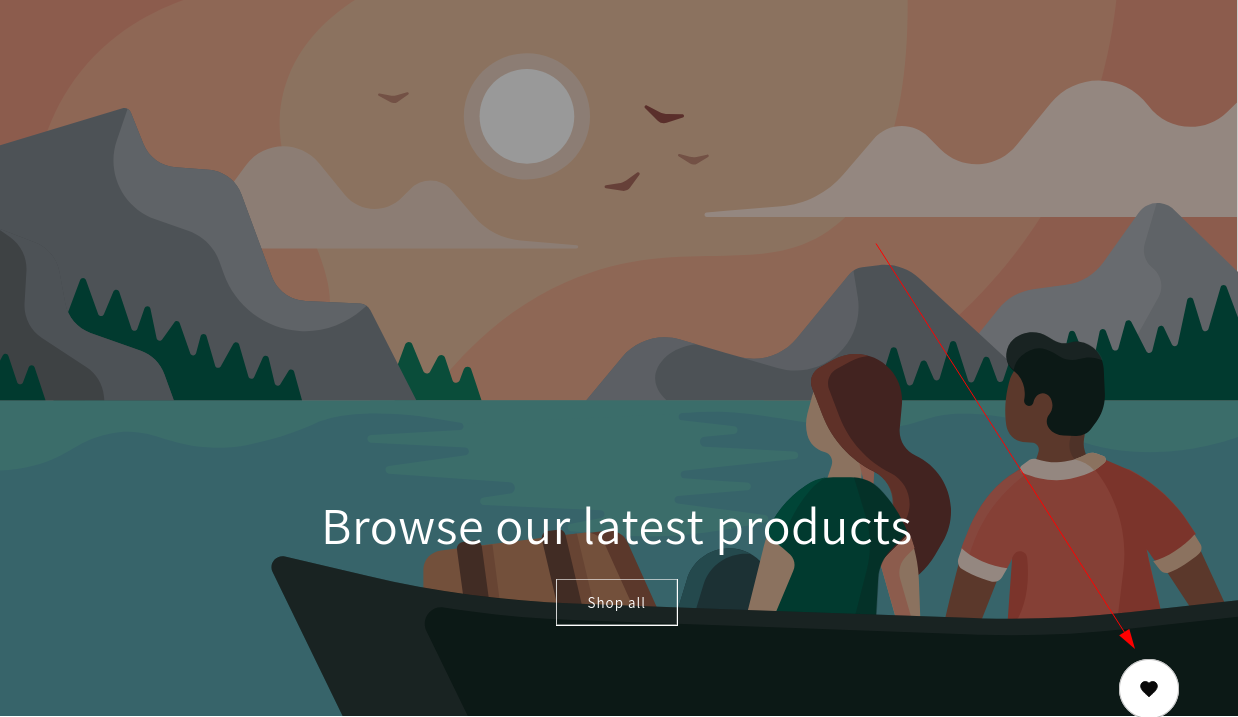
Changing these settings will change the appearance of this button
Catalog Page
Section titled “Catalog Page”Go to your theme customization
Now go to App embeds
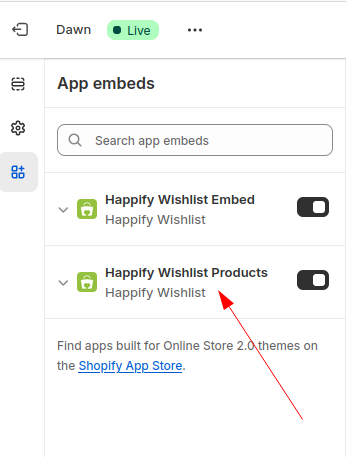
Clicking on this button will bring up catalog page customization
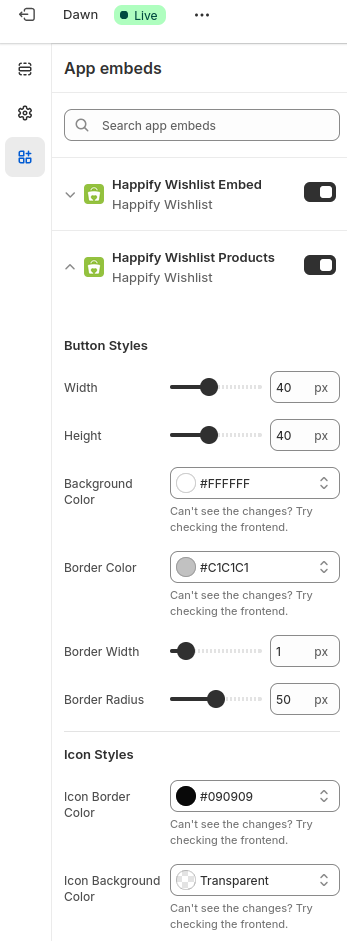
Here, you can customize the following settings
- Button Styles
- Icon Styles
- Hover Styles
- Position Settings.
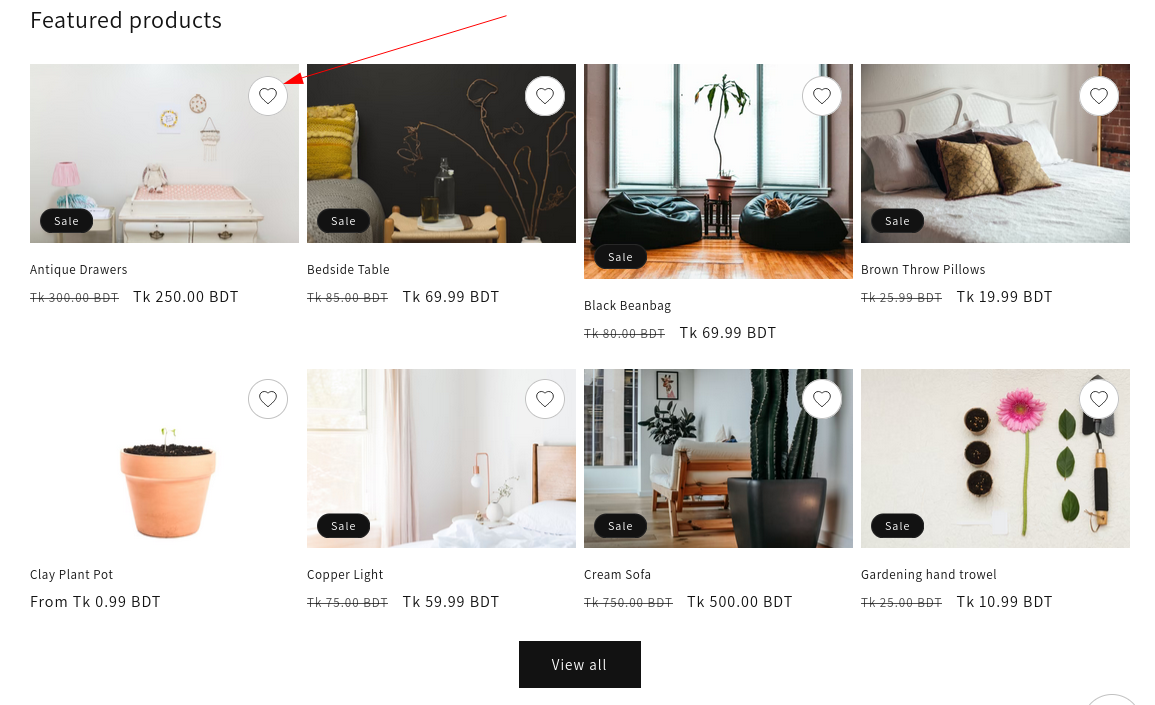
Changing these settings will change the appearance of this button
Product Page
Section titled “Product Page”Go to your theme customization
Double clicking a product here will bring up this screen
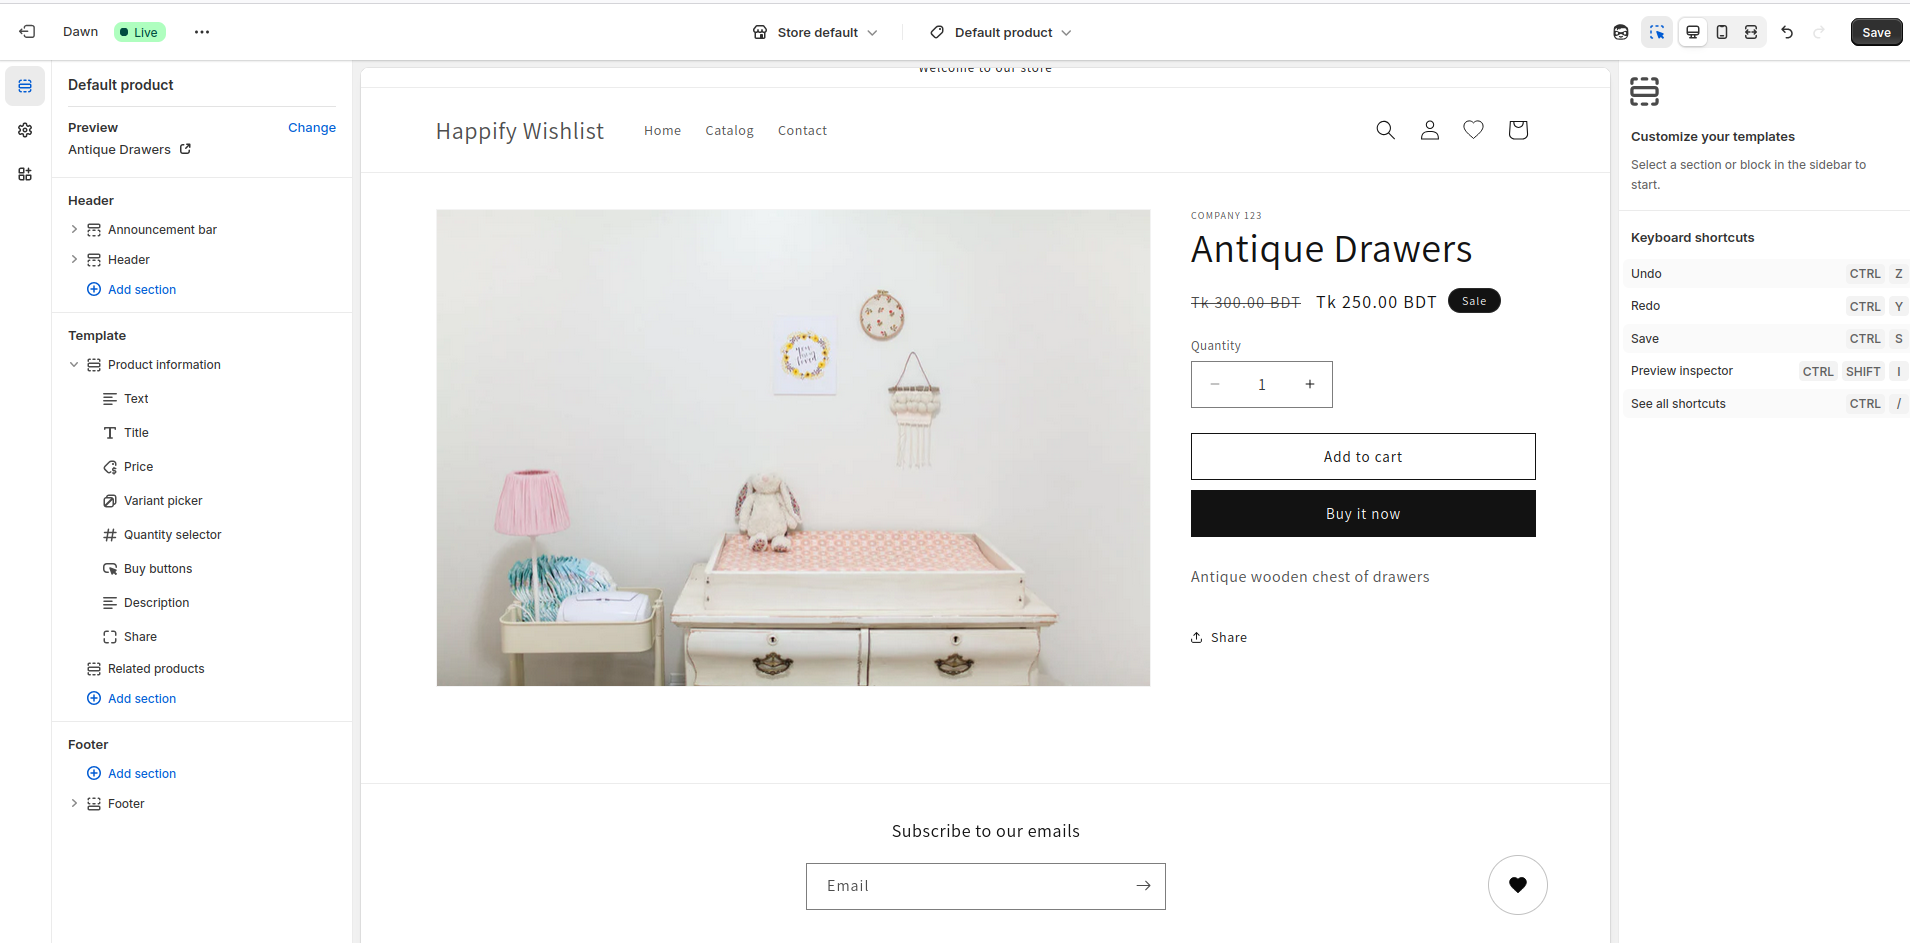
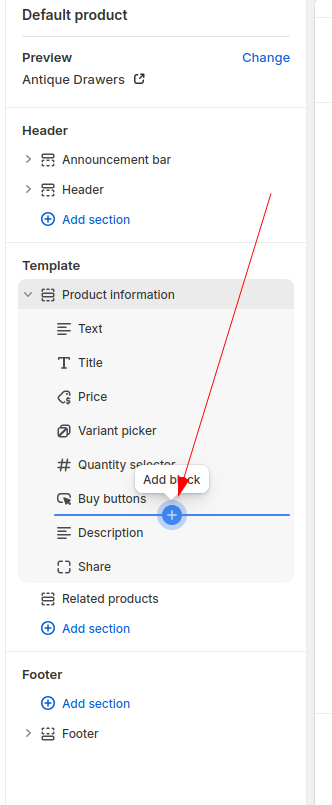
Choose where you want to show the “Add to wishlist” button, we are going to place it below the “Buy it now” button. On the left section, expand “Product Information”. Now, click the + icon below “Buy button” and Add a block
Now go to Apps and select Happify Wishlist

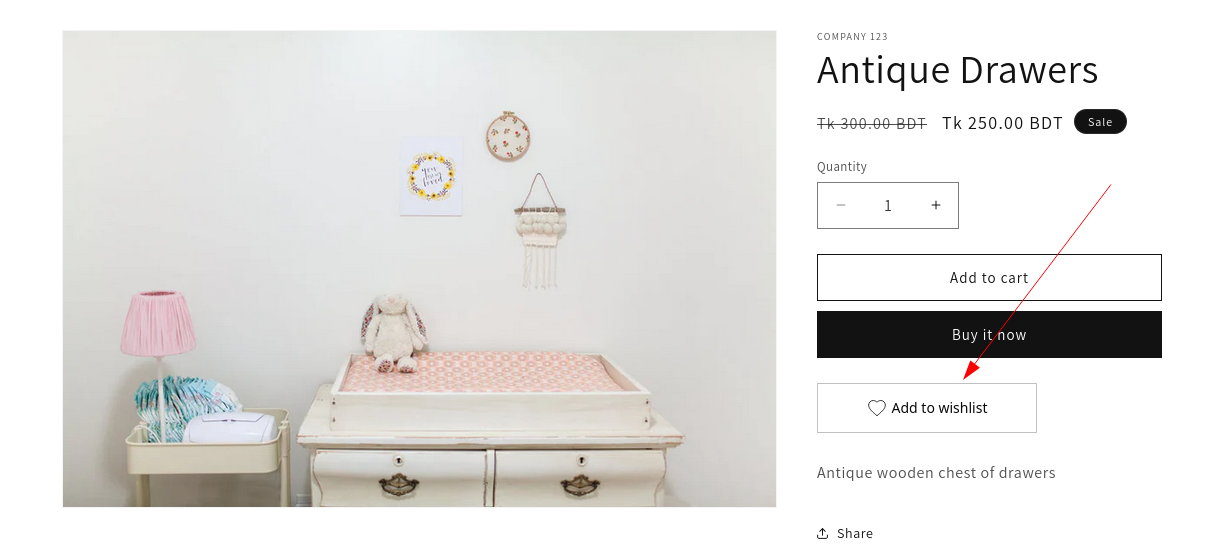
Now the Wishlist button is visible
If you double click this button (or selecting Happify Wishlist from the left panel), you can customize it
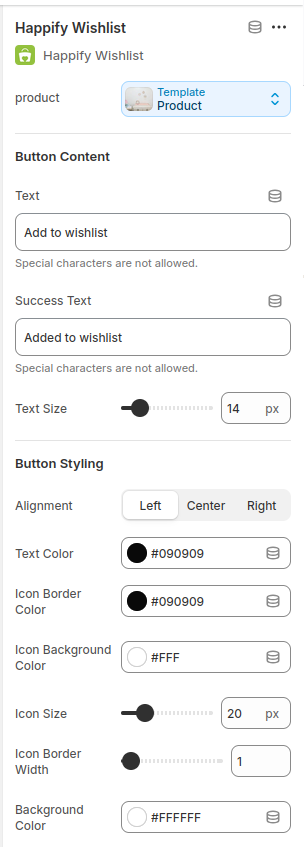
Here you can customize the following things
- Button Content
- Button Styling
- Button Dimension
- Hover Styles
Header
Section titled “Header”Go to your theme customization
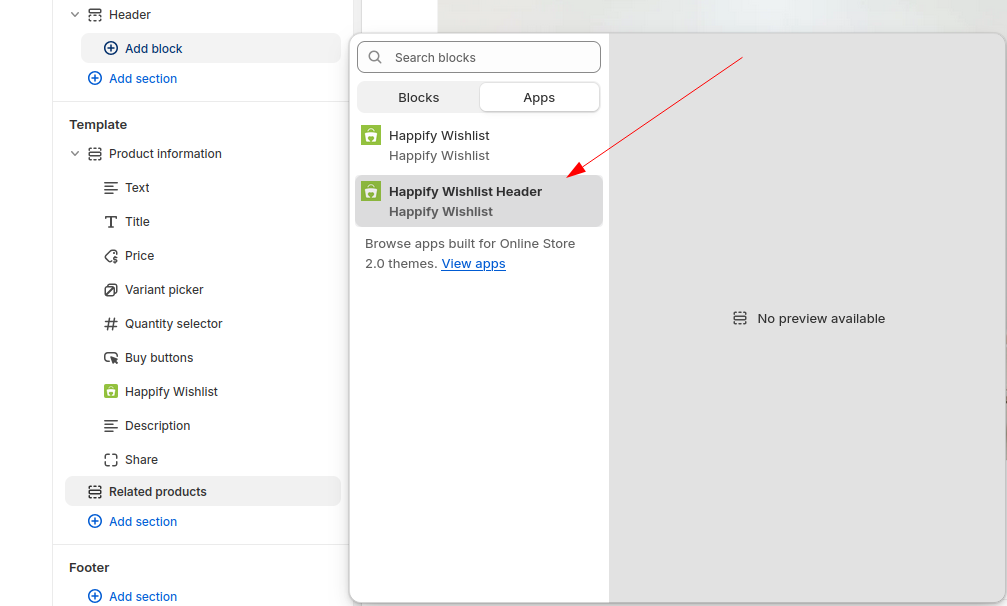
Now click on your header and add “Happify Wishlist Header”
Now the Happify Wishlist icon will be shown in the header

Double clicking this button (or selecting “Happify Wishlist Header” from left panel) will bring up Header customization

Here, you can customize the following
- Wishlist Header Icon
- Count Bubble Styling